How To Take A Cropped Screenshot On Mac
Alt Print Screen To take a quick screenshot of the active window use the keyboard shortcut Alt PrtScn. How to screenshot on a Mac.
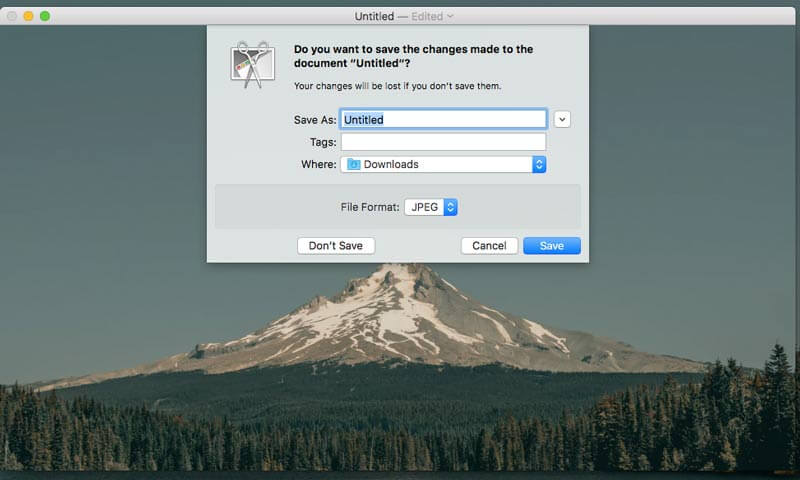
 Use Your Mac S Preview App To Crop Resize Rotate And Edit Images Image Blog Tutorials App
Press left click and drag to select a portion of the screen you want to shot.

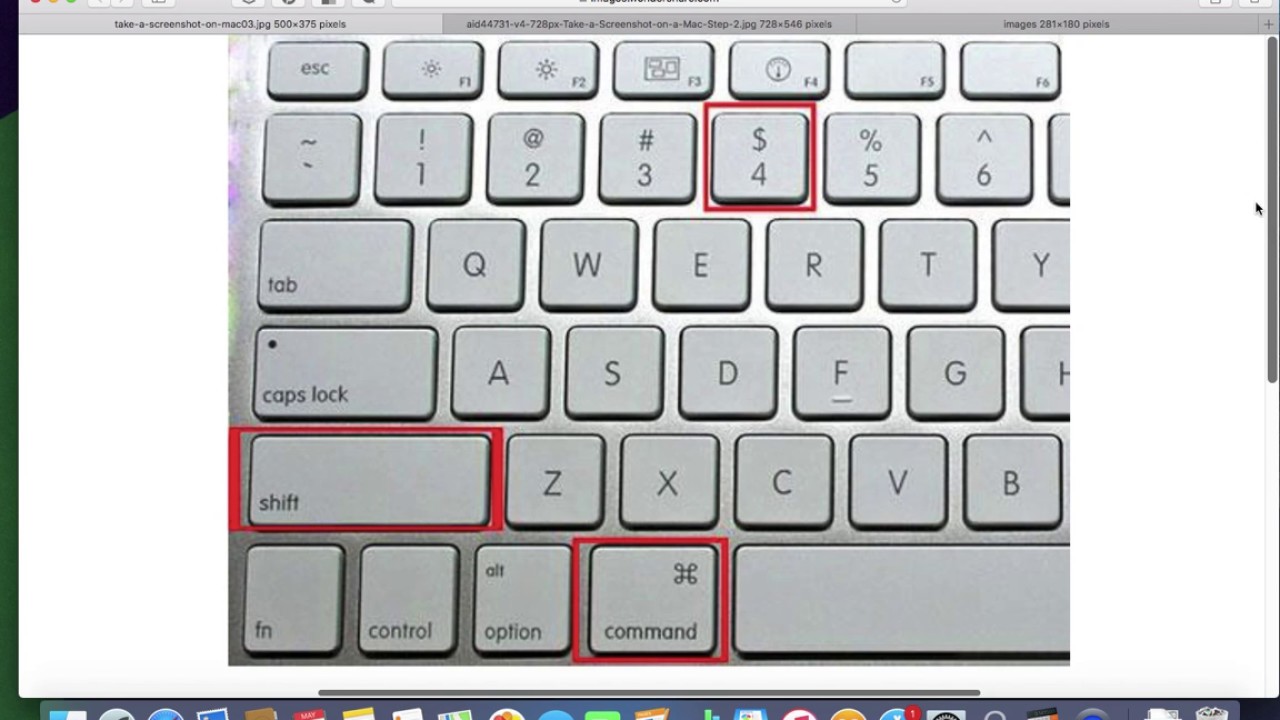
How to take a cropped screenshot on mac. First click the download button above to install and run this free Windows screenshot software on your computer. If you need to crop a screenshot on Mac you can use the Shift Command 4 Space hover your mouse over the window you want to crop then press the Option to exclude window shadow from the screenshot image. How to take a screenshot on your Mac To take a screenshot press and hold these three keys together.
Once you release the mouse the selected part of a screen will be copied to clipboard. It will be saved to your MacBook automatically. You can also crop screenshots soon after you take them with your Mac.
Open photo editor and paste screenshot using CTRLV command. On the Quick Look window that shows up select the Crop icon and start cropping as usual. How to Crop A Screenshot on Mac with Preview.
This will snap your currently active window and copy the screenshot to the clipboard. Capture a Cropped Screenshot on Mac Screen Go to the UI screen or app window you want to capture. Crop a screenshot on Mac of a window or menu.
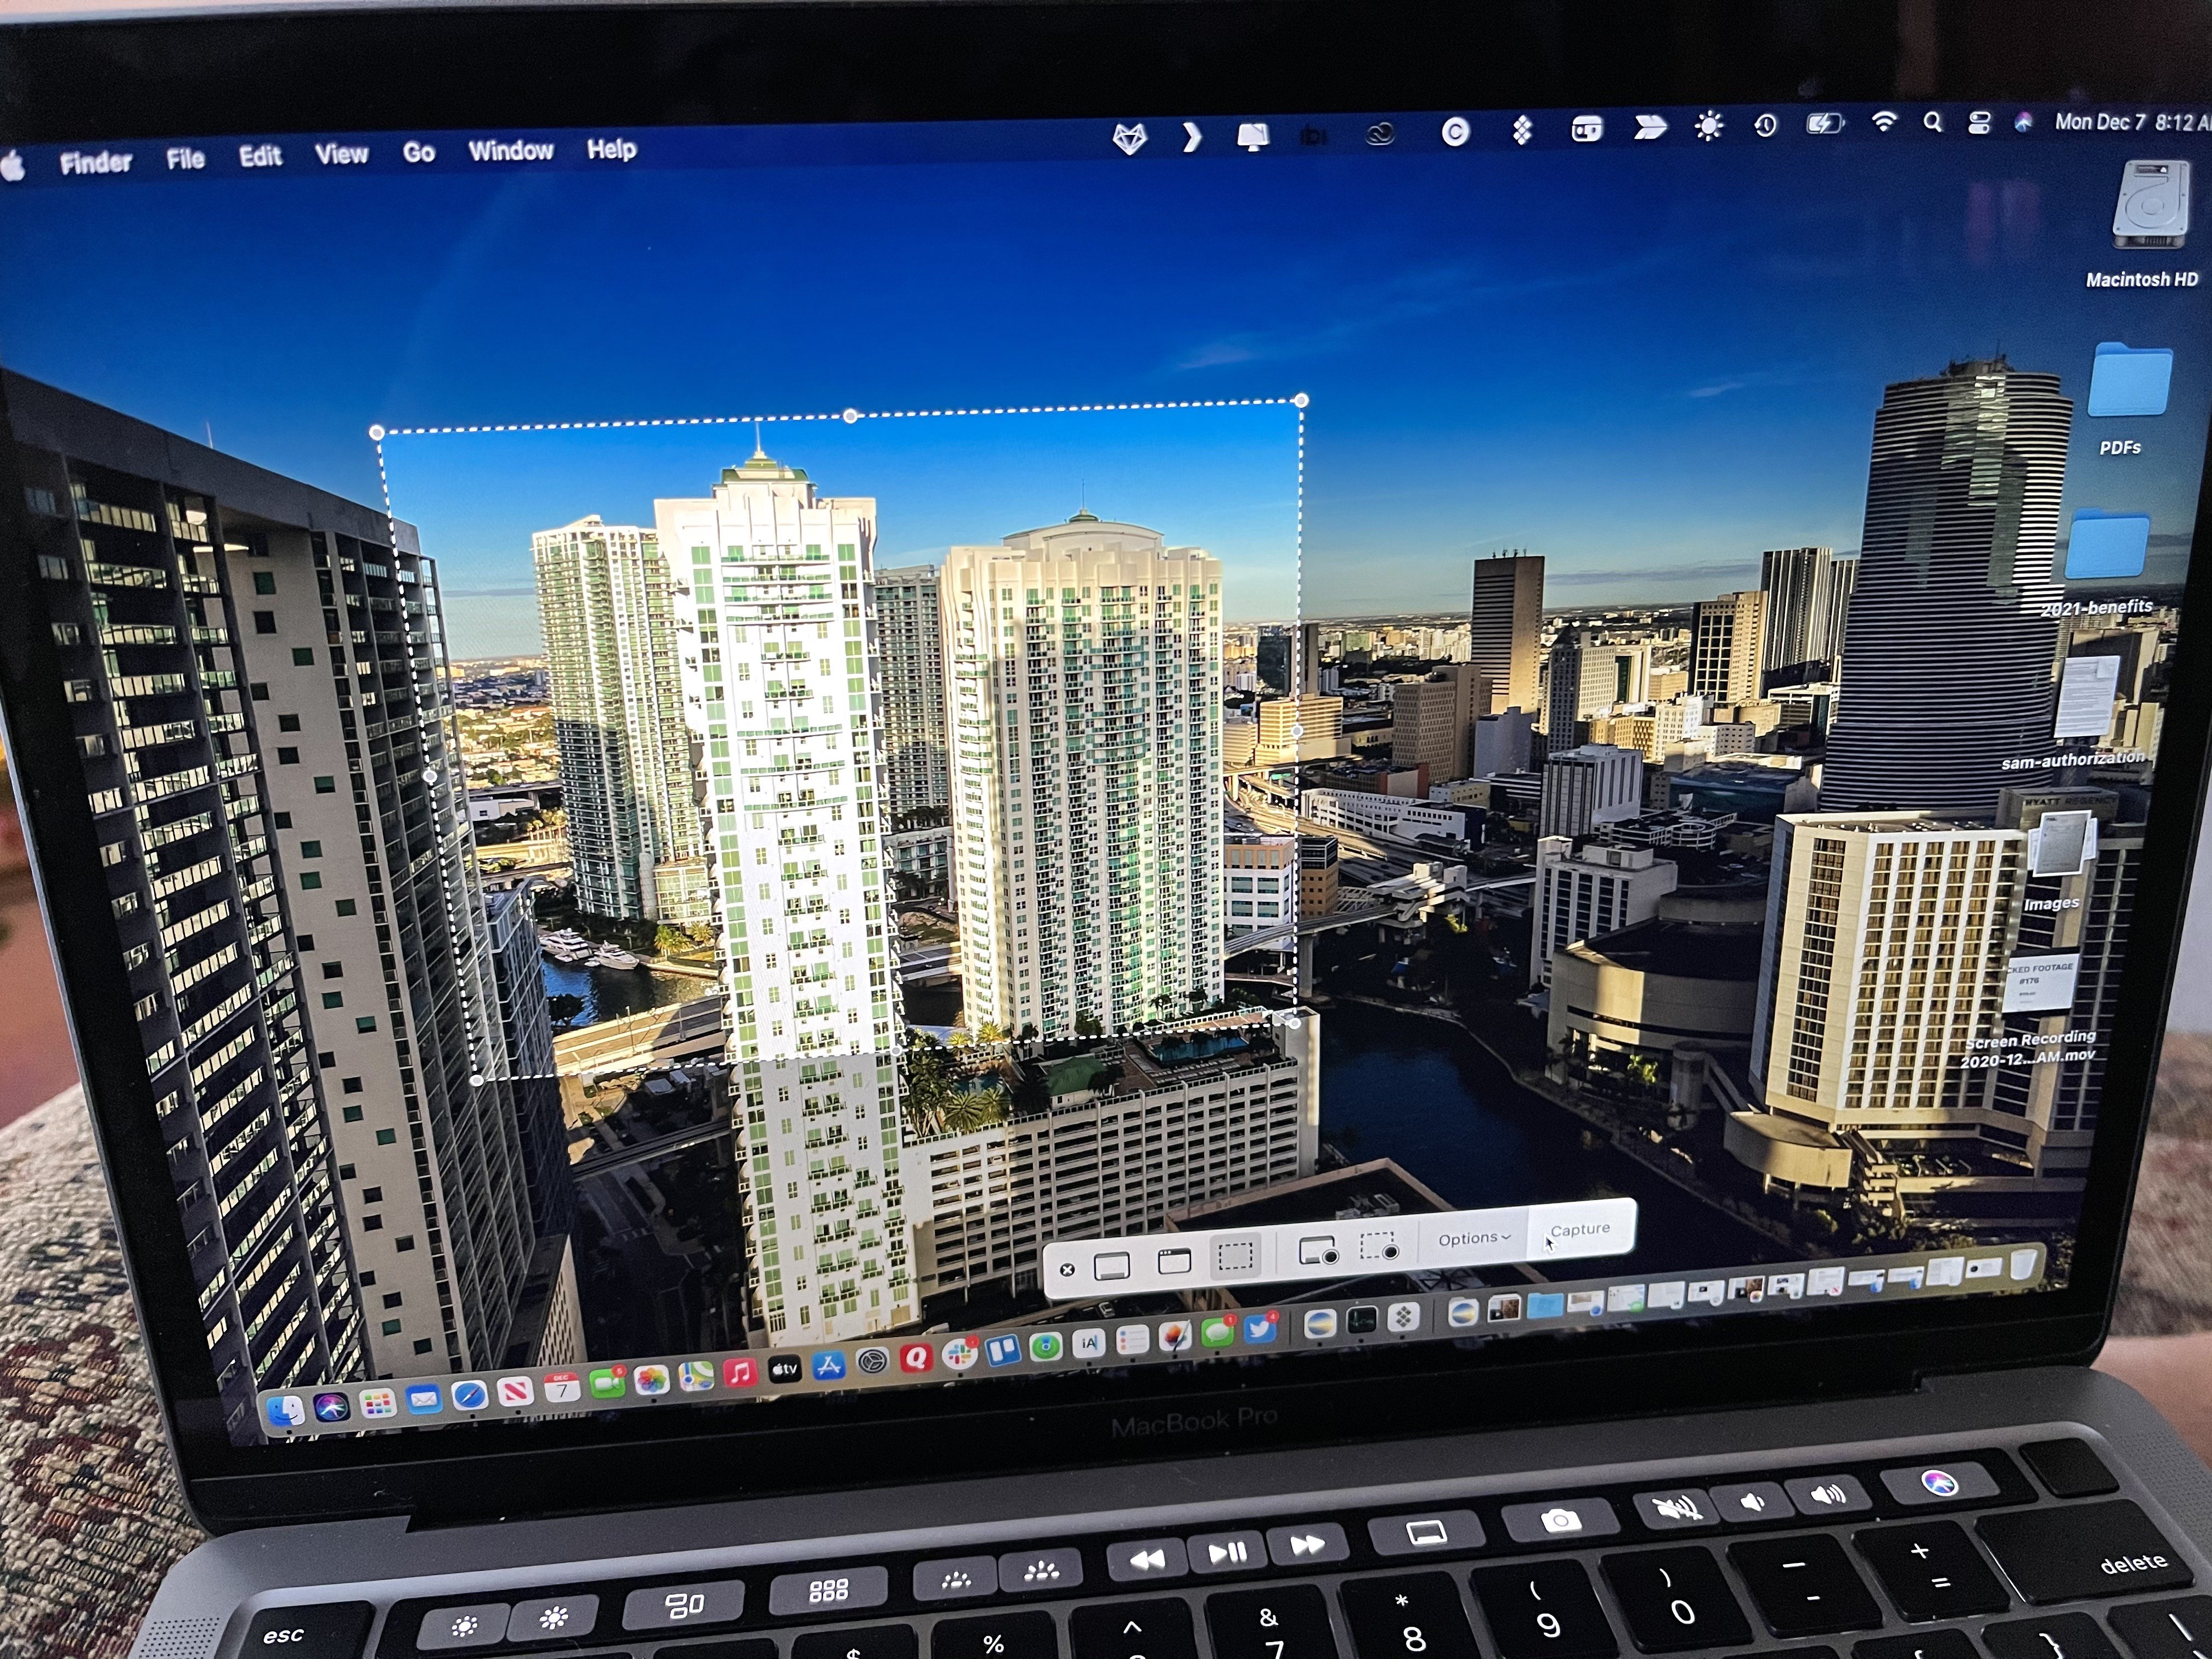
Drag the crosshair and set the screen capture area. Take a Screenshot of Part of Your Screen To take a screenshot of part of your screen press CommandShift4 instead. To take a screenshot of your entire screen press CommandShift3.
Or wait for the screenshot to save to your desktop. Click and drag in the middle of the selection to move it. You dont have any options with this methodit captures the entire screen and.
Pre-cropped screenshot Perform the keyboard shortcut Command Shift 4. To crop use the following formula. To finish click Crop in the toolbar to crop the screenshot.
Step 2 Go to the Tools menu and choose the Crop option. Crop a screenshot on Mac of any portion. Then click the blue dots visible on the center and corners on the screen and drag it.
To crop your Mac screenshot click the Crop icon in the toolbar which looks like two overlapping corners. If you want to take a screenshot on Mac here you need to download the Mac version. Press Shift Command 4 and Space bar.
Then Choose the Screen Capture feature when you enter this screenshot program. Screen Capture is the free screenshot-taken tool like Snipping. Command Shift 4.
Then select the thumbnail of the screenshot that appears at the lower-right of the screen. In order to select the area simply drag your mouse cursor over the areas you intend to crop out. The stuff inside the box will be saved the rest will be discarded.
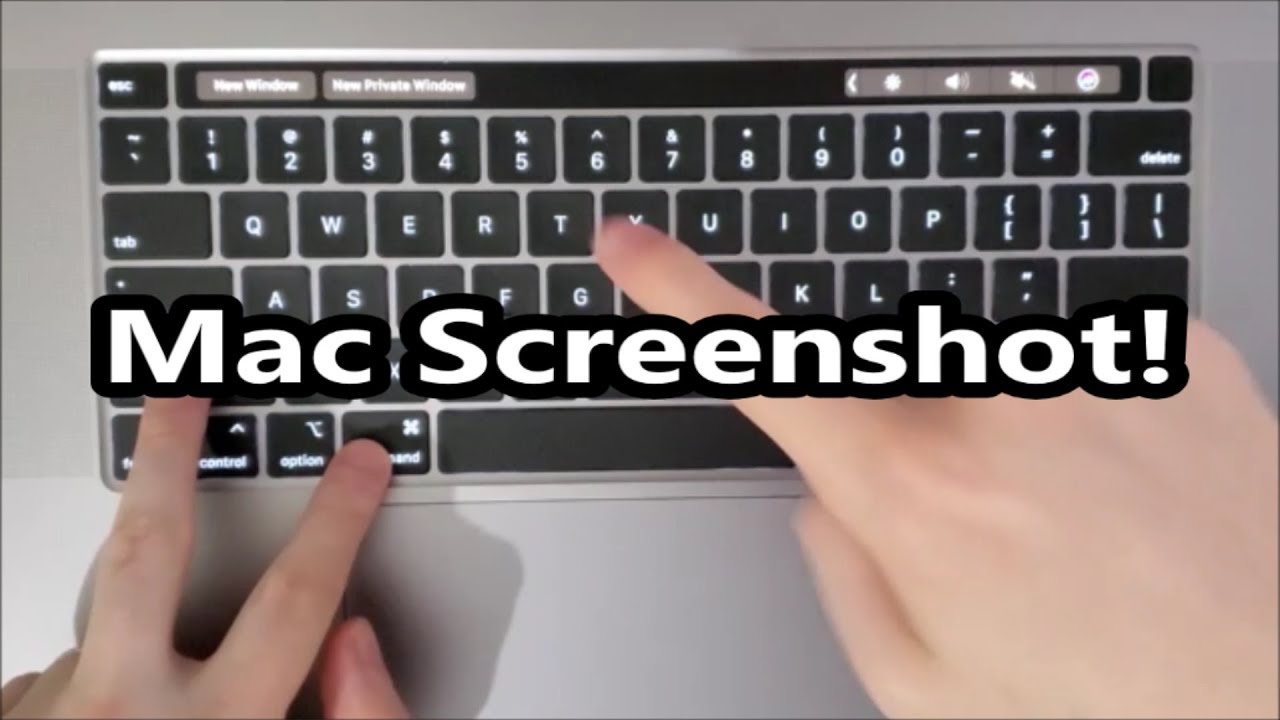
Before you can take a screenshot you must make sure that the screen which you want to screenshot is up with no distractions eg open windows or programs. Then press Command Shift 4 keys at the same time. Press and release the space bar.
The screenshot will be saved to Mac desktop. Press Shift Command 3 to take a screenshot. Go to the screen that you want to screenshot.
The crosshair turns into a little camera icon which you can move over any open window. Release the mouse or trackpad to crop a screenshot on Mac. Different Ways To Edit Crop The Image On MacBook.
Press all three keys at once and your Macs desktop will flash youll hear a camera sound and the screenshot will appear on your desktop as apng file. You should set it to infinite when you want the entire page to be captured. Press Shift Command and 4.
How to take a quick screenshot in macOS The quickest easiest way to take a screenshot is to press Command Shift 3. APPLECOMMAND K Double click to open the screenshot. This will leave you with dotted lines around the.
Select the Preview default option to open the screenshot. If you see a thumbnail in the corner of your screen click it to edit the screenshot. Shift Command and 3.
While Crop Size allows you to define the crop size for the output image in order to limit its maximum dimensions. Step 1 When you want to crop the screenshot on a Mac you can right-click the screenshot and choose the Open With button. Then drag each corner of the picture to resize your cropped selection.
Click and drag your touchpad or mouse to select the region you want to capture and release. Youll see a red rectangle as you move the cursor. 2 Press the Print Screen key.
Click on your desired window to take a screenshot of it. Next to the URL bar you will find a few options for the screenshot size. Min Size lets you limit the minimum size for the screenshot.
 How To Screenshot On Macbooks Macs Using Macos Appletoolbox
 Macbook Pro 16 How To Screenshot Any Mac Youtube
 How To Take A Screenshot On A Mac Digital Trends
Use Your Mac S Preview App To Crop Resize Rotate And Edit Images App Add Bookmark Preview
 How To Easily Create A Linux Live Usb In Macos Make Tech Easier Linux Usb Mac
 How To Take A Screenshot On A Mac 3 Steps Instructables
 Making Cropping Screenshots In Macbook Air Youtube
 Top 4 Snipping Tools For Mac How To Use Snipping Tool On Mac
 Mac Screenshot How To Capture Images On A Macbook Laptop Mag
 Osxyosemite Apple Osx Yosemite Screenshot Notification Yosemite Wallpaper Yosemite Mountains Yosemite
 How To Back Up Iphone Without Itunes On Macos Catalina Itunes Iphone Mac Os
 5 Ways To Take A Screenshot On A Mac Wikihow
 How To Take Screenshot On Macbook Air
 How To Take Screenshots And Record Your Screen On Mac Imore
 Mac Keyboard Tip Apple Keyboard Apple Computer Keyboard
 Screenshot On Mac Not Working 4 Ways And Tips In 2020
 3 Ways To Crop A Screenshot On Mac Full Screen Window Any Region
 Pin On How To Take A Screenshot
 How To Take A Screenshot On A Mac Macbook Take A Screenshot Mac Mac Tips
Post a Comment for "How To Take A Cropped Screenshot On Mac"